1 Install PuTTY.
First of all, you will have to install PuTTy, you can use mobaxterm, KiTTy or whatever, I’m using PuTTy for a long time it still working fine.
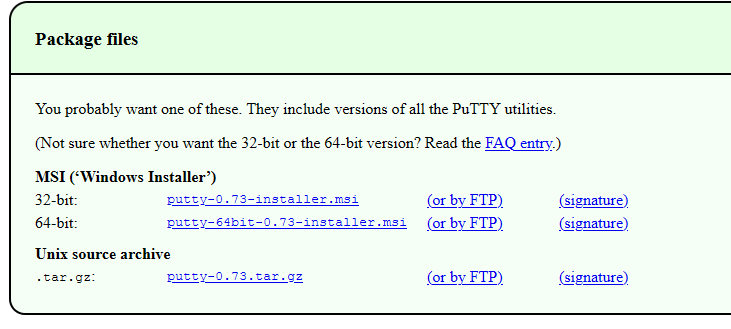
Download PuTTy from www.putty.org.
Select the entire package as shown below, as it will include all the needed utilities such as puttygen and pageant.
2 Create a SSH Key Pair.
In the AWS management console, you will have to create an SSH key pair (private and public) the public key is stored by AWS you have to save the private key file that you store on your own, AWS creates a “.pem” file.
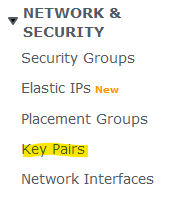
In the AWS Mgmt Console select EC2, on the left panel in the “Network and Security” select “Key Pairs”.

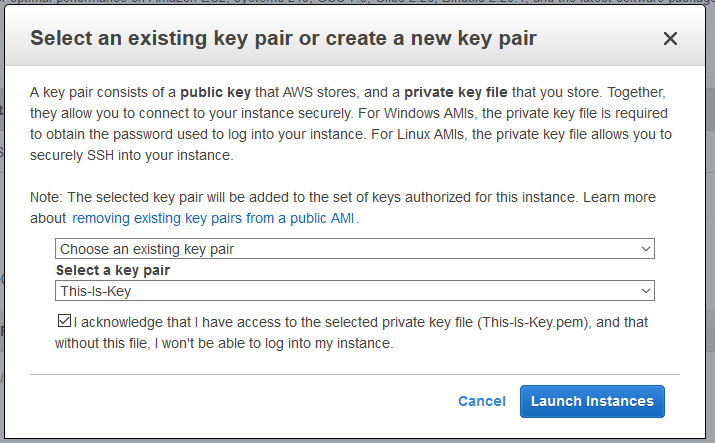
Create a new or select already created SSH key.
Save the Key locally.

As you can see it is a .pem format file, the name is from Privacy Enhanced Mail (PEM), a failed method for secure email but the container format used lives, it is a certificate chain including public key, private key, and root certificates.
3 Transform the SSH Key file format.
PuTTY did not understand the PEM format that AWS uses, we need to transform the PEM file into a .ppk file (PuTTY Private Key). Now run the PuTTYgen utility.

Click the Load Button and then select the .pem file we downloaded from AWS . Select All Files.

Puttgen will now convert the selected .pem file here (This-Is-Key.pem) to a .ppk file.
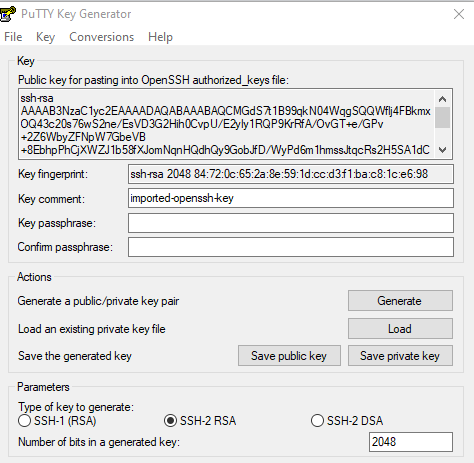
Click now on “Save private key”, ignore the warning message asking you to be sure to save the private key without a passphrase, select Yes.
Type a name here (This-is-Key.ppk) and save the private key.

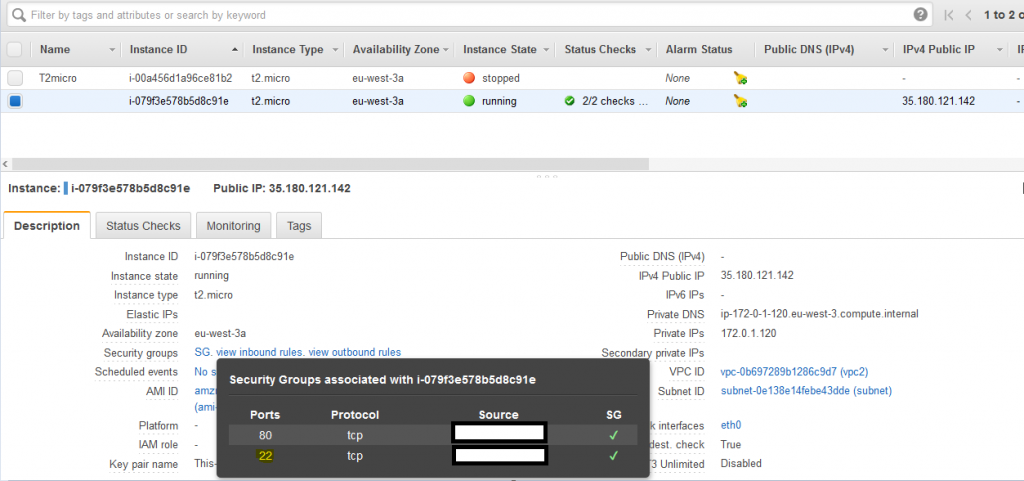
In the AWS EC2 dashboard verify that the instance as the port 22 open and that the key is associated with the Instance
4 Connect to the AWS Linux instance.
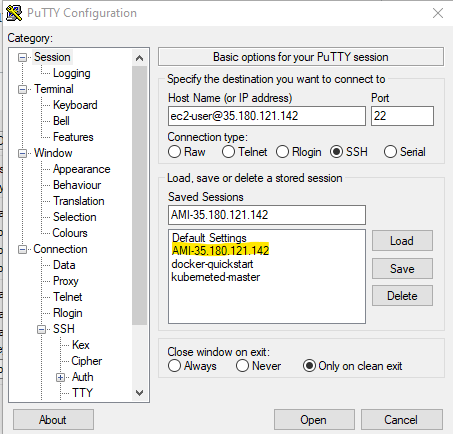
You can now run the PuTTy utility:
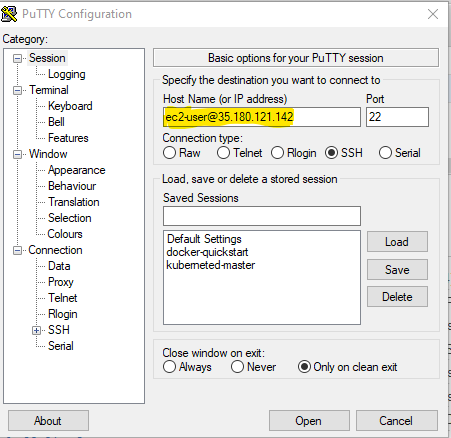
Enter the IP address or hostname into the field.
You can use the format in the example below user_name@ipaddress or DNS name. Be careful to specify the appropriate user name for your AMI (Amazon Machine Image) type, each image as a different user name to permit the connection.
• Amazon Linux, RHEL, Fedora, SUSE AMI, the user name is ec2-user or root.
• Ubuntu AMI, the user name is ubuntu or root.
•Centos AMI, the user name is centos.
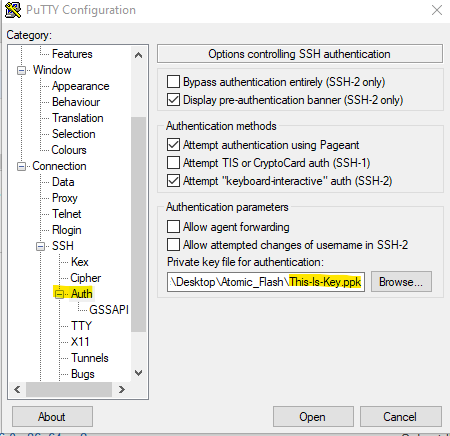
in PuTTY select Connection then SSH and Auth click the Browse button then select the .ppk file just created.
Go back to Session in PuTTy then save the session to a name ex: AMI-35.180.121.142.
Click on Open, you should be directly connected to the system if this is the first time that you are logging in to the instance, you will receive a PuTTy security alert message click on yes to continue.
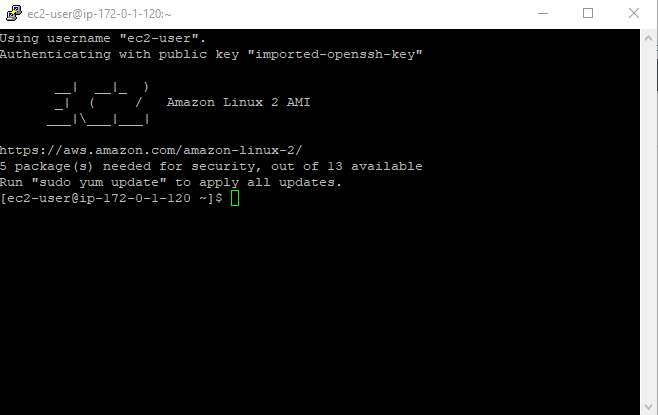
You are now connected to your Linux instance, well done !